The Joys (and Struggles) of Writing and Illustrating Children’s Books
When it comes to writing children’s books, there’s no one-size-fits-all. There are countless styles out there—from lyrical and whimsical to bold and educational. For my Tinker Toddlers series, the tone is pretty locked in. These books are STEM-focused, fact-based, and follow a board book style—clear, concise, and designed for little learners with big questions.
But now, I’m diving into a brand-new adventure: a rhyming picture book series for kids ages 5–9. And let me just say this—rhyming is hard. Like, “pull-your-hair-out” hard. Writing in rhyme isn’t just about making things sound cute. It has to make sense, carry a story, and flow naturally. I’ve been working on my first rhyming book for over a year and a half… and yep, it’s still a work in progress. Apparently, Dr. Seuss had superpowers.
Illustrating: The Beautiful (and Sometimes Maddening) Process
Just like writing, illustration styles vary wildly. With Tinker Toddlers, the visual style is pretty well-defined. But for my new series, I’m experimenting—dabbling in different styles and tools to find what feels right. One thing I can confidently recommend, whether you’re a total beginner or deep in the weeds: Adobe Creative Cloud. Photoshop and Illustrator are lifesavers, and when it comes time to format your PDF for Amazon or KDP, they’ll make your life a whole lot easier.
Tools I Use for Tinker Toddlers:
- Adobe Photoshop & Illustrator – for drawing, inking, lighting, and turning real images into fun, engaging visuals
- Microsoft PowerPoint – yes, really! Surprisingly helpful for simple shapes and layouts
Tools I’m Exploring for My New Series:
- Photoshop & Illustrator – still staples
- PowerPoint – still holding its own
- Procreate (iPad Pro) – for detail, texture, and sketching on the go
- Adobe Illustrator (iPad & Desktop) – when I need extra polish and layers of detail
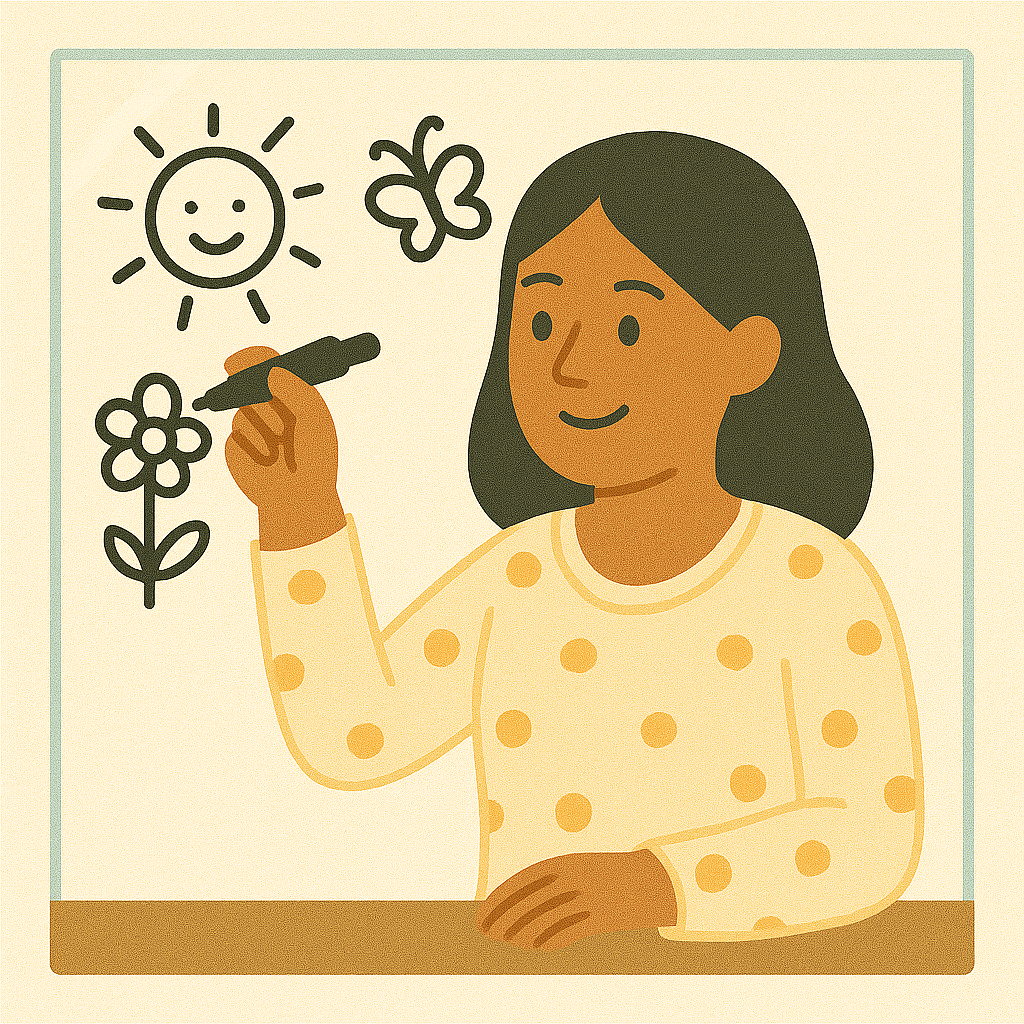
My Illustration Workflow (aka Controlled Chaos)
- Write the book – Always start with the words.
- Research the topic – I search widely: scientific articles, children’s books, speaking with professors, teaching presentations—anything that helps me become more knowledgeable about the subject. As I learn the material, I start visualizing the illustrations.
- Collect and organize in PowerPoint – I gather snippets of what inspires me and start arranging them, one slide per future spread. It helps me plan the color palette and overall mood.
- Rough illustration – I sketch with basic shapes to figure out layout, story flow, and how the visuals will support the text.
- Repeat as needed – My writing informs my art (or the art I outsource using Fiverr or Upwork), and this art circles back to influence my writing. It’s a constant back-and-forth (and yes, sometimes a tug-of-war).
- Multiple reviews – My review process includes sending the prototypes of the books to children down my street and expert reviews. This process can take ~ 6 months. I try to pay close attention to what illustrations people tend to gravitate towards and tech/scientific objects folks can easily identify.
- Final review – Once I’ve wrestled the words and visuals into place, I step back for a final look—and a few deep breaths.
A Note on Sanity
Illustrating can be wonderfully meditative—but also very isolating. There are days (okay, weeks) when I blink and realize I’ve only finished one or two drawings. To keep myself grounded, I set timers to remind myself to take breaks. I plan activities. I force myself to disconnect. Because as immersive as the process is, life is still happening outside the drawing tablet.
So here’s my best advice to fellow creatives: build a process, stick to a loose schedule, and give yourself grace. Illustration (like rhyme) is a skill. The more you practice, the better you get—and the more you can actually enjoy the quiet magic of bringing a story to life.